
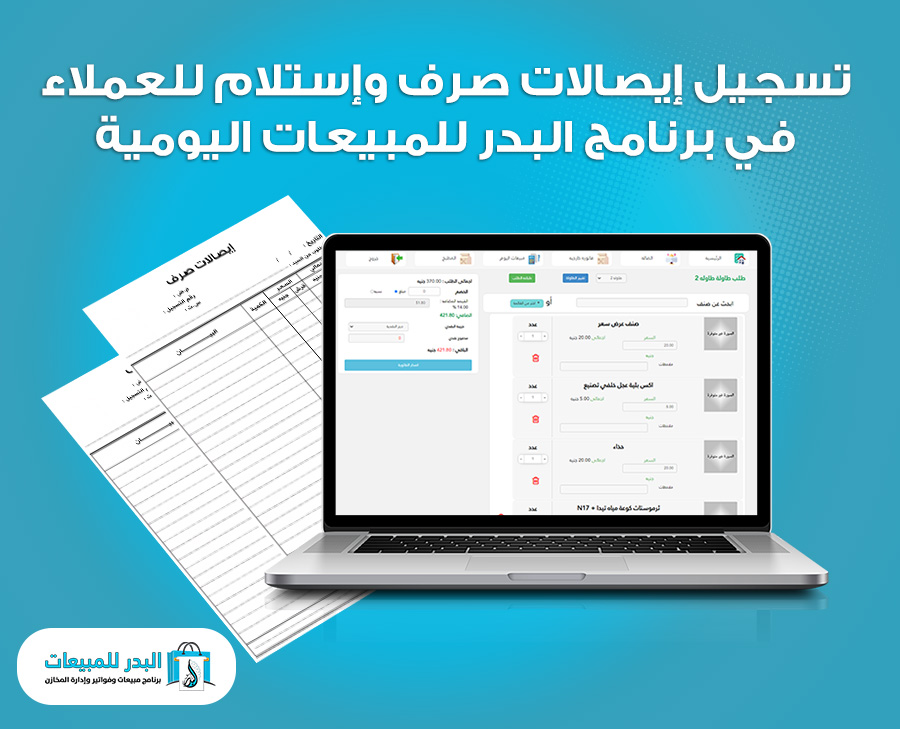
Recording exchange and receipt receipts
In this video, we will learn together about how to add and Recording exchange and receipt receipts customers in the Al Badr program for daily sales and store management when the customer wants to pay for goods owed to him or recover amounts owed to him from the store, along with printing Recording exchange and receipt receipts.
Recording exchange and Recording exchange and receipt receipts customers in the Al Badr program for daily sales
To do this, you must go to the side menu, then choose clients, and from there we first click on the receipt to receive a debt payment as follows:
Then a new page will open for you to Recording exchange and receipt receipts as follows:
Here, you will be required to select the customer who will make the payment. Once you select them, the outstanding balance owed to you will appear below their name. You will need to enter the amount paid, which will be deducted from the outstanding balance. The new balance after the deduction, if any, will appear below the table, or it will be zero. After that, you can specify the date you wish to record the receipt. Then, you can write any notes related to this receipt and specify the cash register where you will deposit the proceeds of this receipt. After that, click on Save to save the receipt. The receipt will then appear for you to print, or you can click Cancel to delete this process.
After that, a new page will open for you with the data for the exchange receipt that will be issued by your store as follows:
Here, you will be required to select the customer you wish to pay and issue a payment receipt. Once selected, the balance owed to them will appear below their name. You will then need to enter the amount paid to them, which will be deducted from the balance owed. The new balance, if any, will appear below the table.
After that, you can specify the date you want to record the receipt and write any notes related to this receipt. You can also select the safe from which you will withdraw the amount for this receipt. Finally, click “Save” to save the receipt.
The receipt will then be displayed. You can either print it or click “Cancel” to delete this transaction.
