
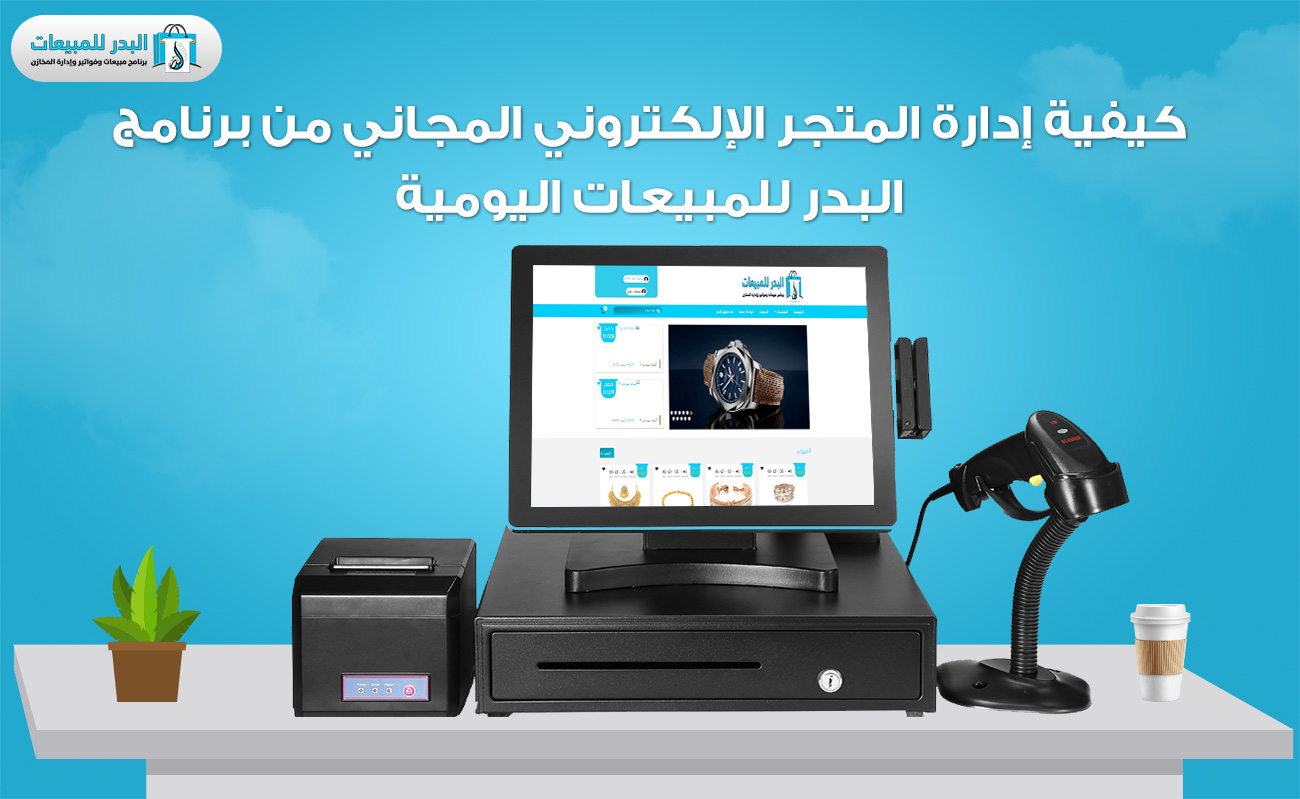
How to manage the online store in the Al Badr program for daily sales
In this new video, we will delve into how to effectively manage your free How to manage the online store using Al-Bader’s daily sales software, designed for both retail stores and e-commerce businesses. We’ll provide a comprehensive overview of how to fully control your online store and complete sales and purchase transactions.
Through a simple step-by-step guide, we’ll explore every aspect of the store’s dashboard within the software. You’ll learn the purpose behind each button and how to navigate the interface.
Additionally, we’ll demonstrate how to process sales and purchases within the store from the customer’s and store owner’s perspectives.
This video briefly mentions the following important points:
First: How can a store owner manage their store through the program’s control panel?
Firstly, ensure that the product is enabled for display on the How to manage the online store . To do this, go to “Products”, click “Edit”, and then check the box next to “Show product on How to manage the online store ” as shown below:
After that, we can go to the program and open the control panel of the How to manage the online store to begin applying its settings by going to the side menu, then choosing the settings of the online store, and by clicking on it, the entire control panel of the store will open for us, as shown below:
After this step, you will first have to go to the previous store settings, then click on view contact information, then click on the How to manage the online store link at the bottom of the page:
When we open the control panel as described previously, we will encounter a group of buttons, each of which has a specific function and use as follows:
Design display:
To see the section on this point:
In the design display, you can choose the store display language (English – Arabic) and also choose a design for your store from among ten designs available to you according to your personal use, as follows:
After clicking Save, you will have to go to the contact information view and click on the store link again to activate these changes in the design as explained previously. Or click on the “Your How to manage the online store ” button on the home screen.
Slide show:
To see the section on this point:
From here you can add pictures to the slider at the front of the site by choosing an image from your computer and uploading it to the program. You can put a link in it and by clicking on it you will be directed to the site of this link, or you can just put the picture in the slider without a link. You can also choose a category from your store and put a picture for it to be completed. It is displayed in the slider as follows:
How to manage the online store requests:
To see the section on this point:
From here you can review all the orders ordered from your How to manage the online store by your customers in the following form and details:
You can search for orders using specific filters such as (customer name, order number, date, order status whether it’s in progress, shipped, delivered, or canceled).
The program will display all your orders with the following details:
(Date, order number, invoice number, customer name, payment method whether it’s electronic payment, bank transfer, or cash on delivery, number of products in the order, order status as mentioned earlier, customer location as specified on Google Maps when placing the order).
You can also click the “View” button to display the complete order details, including products, email, phone number, customer name, and location.
You can change the order status according to its actual status and also specify the payment method as cash or credit on the customer’s account and determine the warehouse from which the goods will be withdrawn.
Similarly, you can select the cash register where the cash will be deposited. You can modify the quantity of products if the customer wishes to increase specific products. Here, any discounts due to discount coupons will be shown, as well as any additional charges such as value-added tax, shipping fees, and the total invoice amount.
Settings for website and application requests:
To see the section on this point:
From here you can configure your order settings in the store according to the meaning of each feature as follows:
Minimum Order Value: This setting allows you to set the lowest permissible value for How to manage the online store orders. The system will not accept any order below this specified amount. For example, if you set the minimum order value to 200 EGP, the system will reject any order less than this amount.
Maximum Shipping Fee: Here, you can set the maximum shipping fee. This can be because you want to inform the customer that shipping costs will not exceed this amount, or because you can only handle delivery orders with shipping costs below this limit.
Shipping Fee: Specify the shipping fee for products, either as a fixed amount added to the total invoice or as a percentage of the total invoice. The type of fee, whether a percentage or a fixed amount, is determined by the following shipping fee setting.
Fee Type: Choose whether the shipping fee is a percentage of the total invoice or a fixed amount added to the invoice value if you have set a fixed shipping fee.
Maximum Number of Cards per Order: This setting allows you to limit the maximum number of cards or recharge cards that can be purchased in a single order. This is useful if you have a special offer on these cards and want to prevent a customer from buying all the available stock, leaving your store without any offer cards.
This limitation ensures that the offer remains available for a longer period, attracting more customers and encouraging them to purchase these discounted cards. They may also purchase other products while they are at your store. This is why you offer discounts on these cards: to encourage customers to buy more products from your store. If you set a specific number, the system will not allow the sale of more cards than this limit in a single order.
Maximum Number of Items per Order from Inventory: This feature is similar to the previous one but applies to products in stock. You can set a maximum limit on the number of products on sale. The system will not allow you to sell more than this limit in a single order for the same reason as before.
Payment Methods:
From here, you can select the available payment methods in your store. You can choose one or all of them, depending on what you have available, as follows:
- Electronic Payment: This is a payment made using a Visa card.
- Bank Transfer: This is a payment made through bank transfers.
- Cash on Delivery: This is a payment collected by the store’s representative or shipping company from the customer upon delivery of the products, which is then deposited to the store.
After making these settings, you can click “Save” to save these settings.
Static Pages Settings:
This feature is designed to create static pages or articles on your store that you want to use to inform the customer about important things about your business or anything else. It is your tool to inform the customer about what you want, such as a static page that talks about the store’s history, your store branches, contact numbers, or the like.
When you click to add a new page, a new page will open as follows.
Here we can add the search keywords for this page, as well as the name that will appear on the site. We can also choose an image to accompany the page, then write whatever content we want for this page, and then we can save or delete it.
Social media accounts:
To see the section on this point.
From here we can add the social media accounts available to us that will help us promote our business. These accounts belong to (Facebook – YouTube – Twitter – Google Plus – Instagram). By clicking on the icons on the site, the customer will automatically be transferred to the account included in the icon as follows:
Then we can add all the accounts into the appropriate cell and then click Save as follows.
How to manage the free How to manage the online store from the Al Badr program for daily sales, manage the shops, fully control it, and complete the buying and selling operations with it
Product discounts:
To see the section on this point:
From here we can make discounts on some of the products that we want to appear in the store as a way to attract customers to purchase more, as follows.
Here we will enter the name of the product, then enter the discount percentage, and then the price after the discount will be determined automatically. Then we will click on Confirm the discount to add this product to the discount list. We can delete any product from this list if we wish to do so as a result of the end of the discount offer or for any other reason as follows.
Discount coupons:
To see the section on this point.
These coupons enable you to create discount coupons for customers that they can use when purchasing. This is with the aim of increasing business activity, as the program or store will request it from them upon completing the purchase process, and they will enter the coupon number to activate the discount, as they are included inside it as follows:
Here we will find all the coupons displayed in the store, including their details, such as the coupon code, the discount applied to it, its status, whether it is activated or not, its expiration date, and whether it is available or no longer available. We can also modify the coupon, delete, or add a new coupon by clicking on the Add Coupon button. A new page will open for us as follows.
How to manage the free How to manage the online store from the Al Badr program for daily sales, manage the shops, fully control it, and complete the buying and selling operations with it
Here, we can input coupon data, including the coupon code, the discount applied based on the discount type (whether it’s a fixed amount or a percentage of the total bill), the expiration date, and the coupon status (active or inactive). Once the data is entered, clicking ‘Save’ will successfully store the information. We can also modify the data of any coupon or change its activation status between active and inactive if we wish to temporarily or permanently discontinue the coupon or extend its validity period.
View contact information:
To see the section on this point:
From here we can review, modify or add the data that will be displayed on the pages (Contact Us – About the Company – Terms and Conditions). Also here is the link to the How to manage the online store for each customer’s account.
How to manage the free How to manage the online store from the Al Badr program for daily sales, manage the shops, fully control it, and complete the buying and selling operations with it
Electronic Payment Settings:
Here, you can configure the settings for electronic payments in your store. However, before proceeding, ensure that you have selected electronic payment as one of the available payment methods in your store. Once you do, you will find some specific data related to this configuration, which you will obtain from the electronic payment company you are contracting with. After that, you can enter this data as follows.
After entering the settings and account numbers, click Save to save successfully.
Inbox:
This inbox contains all the messages sent to you by customers on the Contact Us page, where you will find the following information inside.
Here, you’ll find messages displayed with the following details: sender’s name, email address, and phone number. You can preview, read, and reply to messages directly from the preview. Additionally, you can reply using the reply button and delete unwanted messages.
It’s worth noting that the email addresses and phone numbers you’ve collected can be leveraged for marketing purposes. You can send emails or text messages to promote your products, send limited-time discount coupons to your valuable customers who make the most purchases, and more. This information is a treasure trove for any business.
Outbox:
To view the Inbox and Outbox sections together:
From here you can review all the messages you have sent to your customers:
Likewise you can do everything you did in your inbox
Second: How does the customer use the store for the first time and make purchases from the store?
Here, the customer must first register an account on the store, and to watch the method, please follow this video:
After creating an account, customers can make purchases using the shopping cart. They can adjust the quantity of products they want to buy and apply any discount coupons they’ve received from your store to get the corresponding discount. Once they’ve finished, they can submit their order to the store. You will then review their order and process the shipment as previously discussed in the section on e-commerce orders. To follow the process step-by-step, please watch the video attached to this article.
